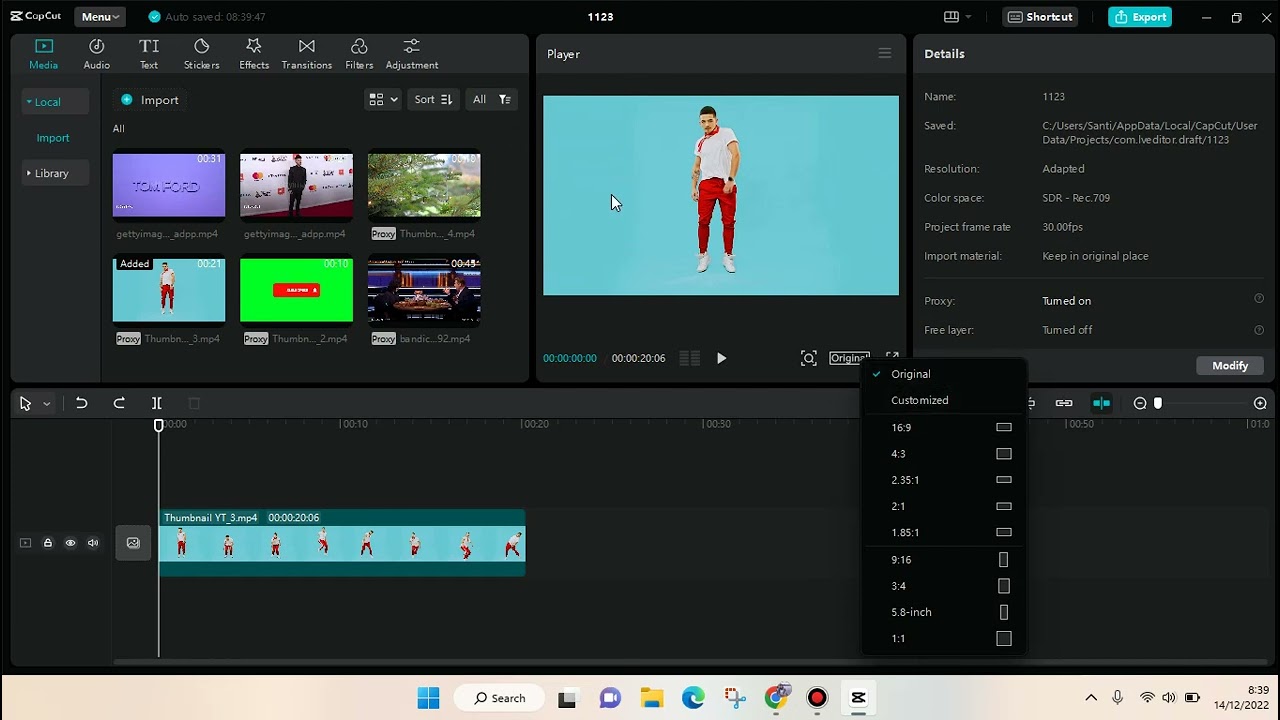
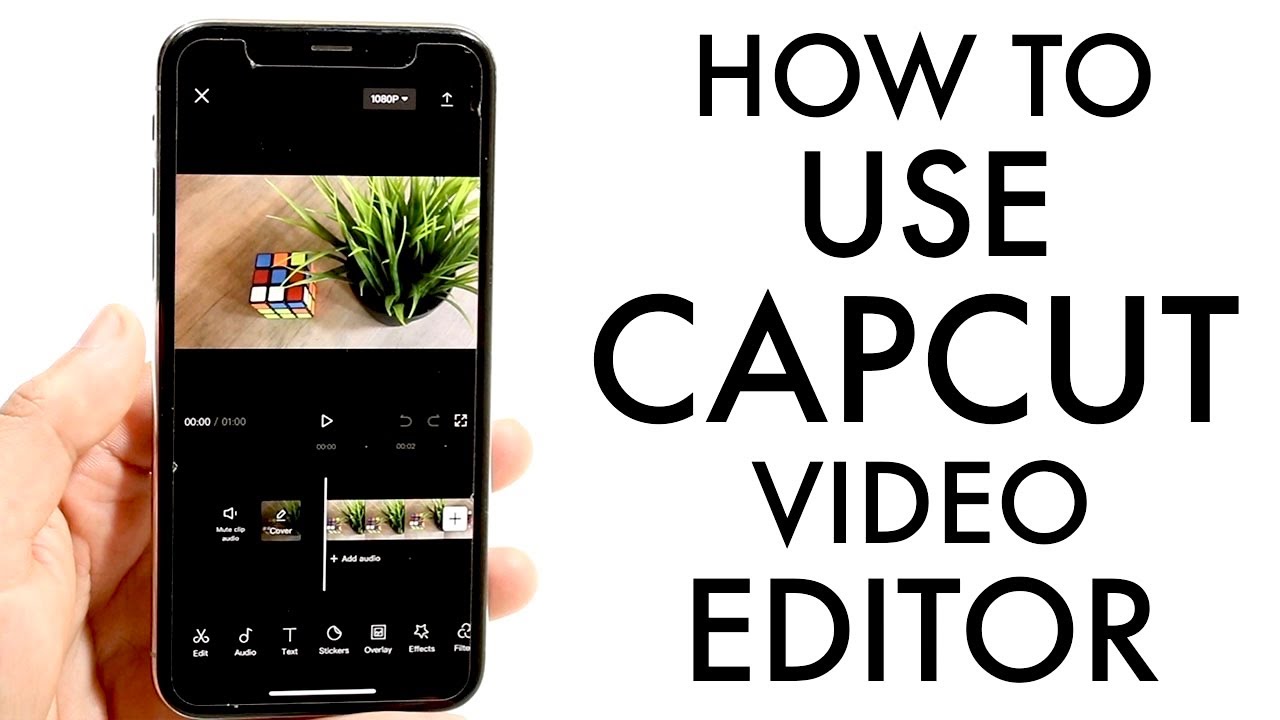
Adding keyframes in CapCut is easier than you might think. By following a few simple steps, you can create smooth animations and add creative touches to your videos. First, import your video into CapCut and select the clip you want to edit. Then, tap on the keyframe icon to set your start point. Move the playhead to the desired frame, make your adjustment, and add another keyframe. Repeat this process to animate your clip precisely. Let’s dive into the details so you can start creating dynamic content with keyframes in CapCut.
Table of Contents
- 1 How to Add Keyframes in CapCut
- 1.1 Understanding Keyframes
- 1.2 Getting Started with CapCut
- 1.3 Adding Keyframes in CapCut
- 1.4 Practical Examples of Using Keyframes
- 1.5 Refining Your Animations
- 1.6 Tips and Tricks for Effective Keyframing
- 1.7 Common Mistakes to Avoid
- 1.8 Advanced Keyframing Techniques
- 1.9 How To Use Keyframes in CapCut Video Editor
- 2 Frequently Asked Questions
- 3 Final Thoughts
How to Add Keyframes in CapCut
CapCut is a versatile video editing app that lets you bring your creative ideas to life directly on your mobile device. Adding keyframes is an essential feature that allows you to control the movement, position, and other attributes of your video elements. Additionally, you might be wondering, ‘Is CapCut music copyright free?‘ This article will provide a step-by-step guide on how to add keyframes in CapCut, so you can enhance your videos with dynamic animations and effects.
Understanding Keyframes
Before diving into how to add keyframes in CapCut, let’s first understand what keyframes are. Keyframes are essential markers in the timeline of your video that define the start and end points of any transition or animation. By setting keyframes at different points, you can control how elements like text, images, and video clips change over time.
Why Use Keyframes?
Keyframes allow you to:
- Create smooth transitions for visual elements.
- Animate objects to move, rotate, scale, or change opacity.
- Bring static elements to life with motion and effects.
- Customize animations for a more professional look.
Getting Started with CapCut
If you haven’t already, you’ll need to download and install CapCut on your mobile device. It’s available for both iOS and Android.
Creating a New Project
To start a new project:
- Open the CapCut app.
- Tap on the “New Project” button.
- Select the media files (videos or photos) you want to use and add them to your timeline.
Now that you have your project set up, let’s move on to adding keyframes.
Adding Keyframes in CapCut
Here’s how to add keyframes to your video elements in CapCut:
Step-by-Step Guide
1. Select the Clip:
Tap on the video or image clip in the timeline where you want to add keyframes.
2. Open the Keyframe Men*:
- Tap on the “Keyframe” icon, which looks like a small diamond shape. This will bring up the keyframe controls.
- If you can’t find the icon, look for options like “Animation” or “Effects”.
3. Add a Keyframe:
- Move the playhead to the point in the timeline where you want the keyframe to be.
- Tap the “Add Keyframe” button. A small diamond shape will appear on the timeline, indicating a keyframe has been added.
4. Adjusting Properties:
- With the keyframe selected, adjust the properties you want to animate. These properties might include position, scale, rotation, and opacity.
- For example, if you want an image to move, you can drag it to a different position on the screen.
5. Add More Keyframes:
- Move the playhead to another point in the timeline where you want to set the end point of your animation.
- Tap “Add Keyframe” again and make further adjustments to the properties.
By adding keyframes at different points in the timeline, you can create animations that change over time.
Practical Examples of Using Keyframes
Let’s look at some common animations you can create using keyframes in CapCut.
Animating Text
Adding dynamic text to your videos can make them more engaging. Here’s how to animate text using keyframes:
- Add a text element to your timeline by tapping on the “Text” button and choosing the style you like.
- Tap on the text clip in the timeline to select it.
- Move the playhead to the start of the text clip and tap the “Add Keyframe” button.
- Adjust the position, scale, or opacity of the text. For example, you can position the text off-screen at the start.
- Move the playhead a few seconds forward and add another keyframe.
- Adjust the properties again. For example, move the text to its final position on the screen.
This will create a smooth animation of the text moving from off-screen to its final position.
Animating Images
Animating images can add visual interest to your videos. Here’s how to do it:
- Import an image into your project and add it to your timeline.
- Select the image clip and tap the “Keyframe” icon.
- Move the playhead to the beginning of the image clip and add a keyframe.
- Adjust the image properties, such as position or scale. For instance, you can start with a zoomed-out view.
- Move the playhead to the end of the image clip and add another keyframe.
- Adjust the image properties again. For instance, you can zoom in on a specific part of the image.
This will create a zoom-in effect on the image.
Combining Multiple Animations
You can add multiple keyframe-based animations to the same video clip. For example, you can animate both the position and rotation of an image:
- Select the image clip and add a keyframe for position at the start of the timeline.
- Move the playhead and add another keyframe for position at the end, changing the image’s position.
- Next, add keyframes for the rotation property at the same points in the timeline.
- Adjust the rotation angles at each keyframe to create a spinning effect.
By combining different animations, you can create more complex and engaging visuals.
Refining Your Animations
Adding keyframes is just the beginning. Here’s how to refine your animations for a more polished look.
Smoothing Transitions
To make your animations look smoother:
- Use the Bezier curve editor to adjust the easing of your keyframes.
- Tweak the speed and timing of transitions for a more natural movement.
Previewing and Adjusting
Always preview your animations to see how they look:
- Use the playhead to scrub through the timeline and see the animation in action.
- If something doesn’t look right, adjust the keyframes’ positions or properties.
Layering Animations
You can layer multiple animations on the same clip for more complex effects:
- For example, you can animate the position, rotation, and opacity of an image simultaneously.
- Use different keyframes for each property to create a layered animation.
Tips and Tricks for Effective Keyframing
Here are some tips to help you make the most out of keyframing in CapCut.
Plan Your Animations
Before you start adding keyframes, plan what you want to achieve:
- Think about the start and end points of your animations.
- Consider how different elements will move together.
Experiment and Iterate
Don’t be afraid to experiment:
- Try different animations and see what works best for your video.
- Iterate and refine your animations until they look just right.
Use Templates and Presets
CapCut offers templates and presets that can save you time:
- Check the built-in animations and effects for inspiration.
- Use templates as a starting point and customize them with keyframes.
Common Mistakes to Avoid
Avoid these common mistakes when using keyframes in CapCut:
Overcomplicating Animations
While keyframes are powerful, too many animations can overwhelm your viewers. Keep it simple and focus on the most impactful elements.
Ignoring Timing and Pacing
Proper timing and pacing are crucial for smooth animations. Make sure your keyframes are spaced appropriately to avoid abrupt movements.
Not Previewing Your Work
Always preview your animations to catch any issues before finalizing your video. This will help you spot and fix problems early on.
Advanced Keyframing Techniques
Once you’re comfortable with basic keyframing, explore advanced techniques to enhance your videos further.
Using Masks and Layers
You can create more complex animations by combining keyframes with masks and layers:
- Use masks to reveal or hide parts of your video elements.
- Animate different layers for multi-dimensional effects.
Applying Motion Blur
Adding motion blur can make your animations look smoother and more realistic:
- Use the motion blur effect available in CapCut.
- Combine it with keyframes for a polished look.
By following these steps and tips, you can take full advantage of keyframes in CapCut to create engaging and dynamic videos. Dive in and start experimenting to see what creative animations you can produce!
How To Use Keyframes in CapCut Video Editor
Frequently Asked Questions
What are keyframes used for in CapCut?
Keyframes in CapCut allow you to animate elements over time by setting specific values at different points in your video. This feature helps create smooth transitions, adjust visual effects, and add professional touches to your edits.
How do I set a keyframe for an object in CapCut?
To set a keyframe in CapCut, first select the object you want to animate. Tap the keyframe icon (a diamond shape) at the bottom of the screen to create a keyframe at the current playhead position. Adjust the object’s properties as needed. Move the playhead to a new position and create another keyframe, then adjust the properties again which will create an animation between the keyframes.
Can I adjust the timing of keyframes in CapCut?
Yes, you can adjust the timing of keyframes in CapCut. After setting your keyframes, hold and drag the keyframe icon along the timeline to adjust its timing. This lets you control the speed and duration of the animation or effect, ensuring it syncs perfectly with your video.
How do I delete a keyframe in CapCut?
To delete a keyframe in CapCut, move the playhead to the keyframe you want to remove. Tap on the keyframe icon, then select the option to delete it. This will remove the keyframe and any associated animations or effects between the previous and next keyframes.
Final Thoughts
Adding keyframes in CapCut enhances your video editing by allowing precise control over animations and effects. To add keyframes in CapCut, simply tap on the keyframe icon at the point where you want to start or change an animation. Adjust your clip’s position, opacity, or other settings at each keyframe to create smooth transitions. Practice and experimentation will help you achieve the desired results.


