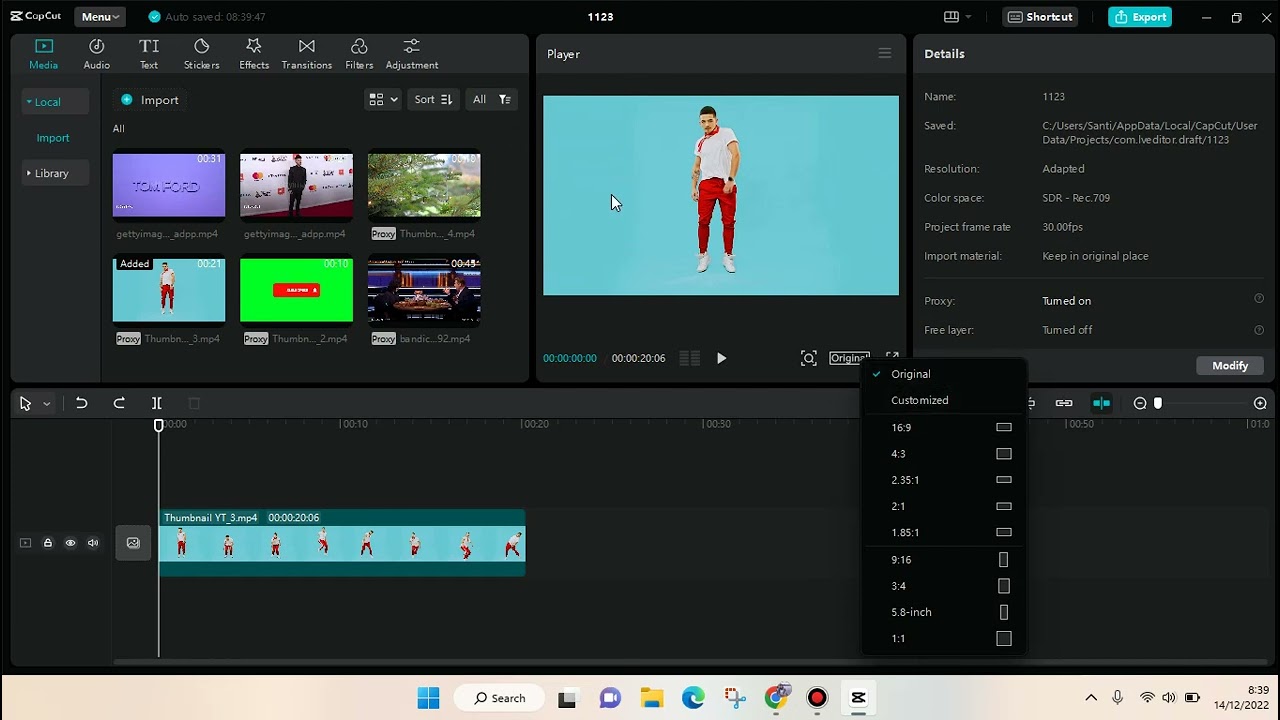
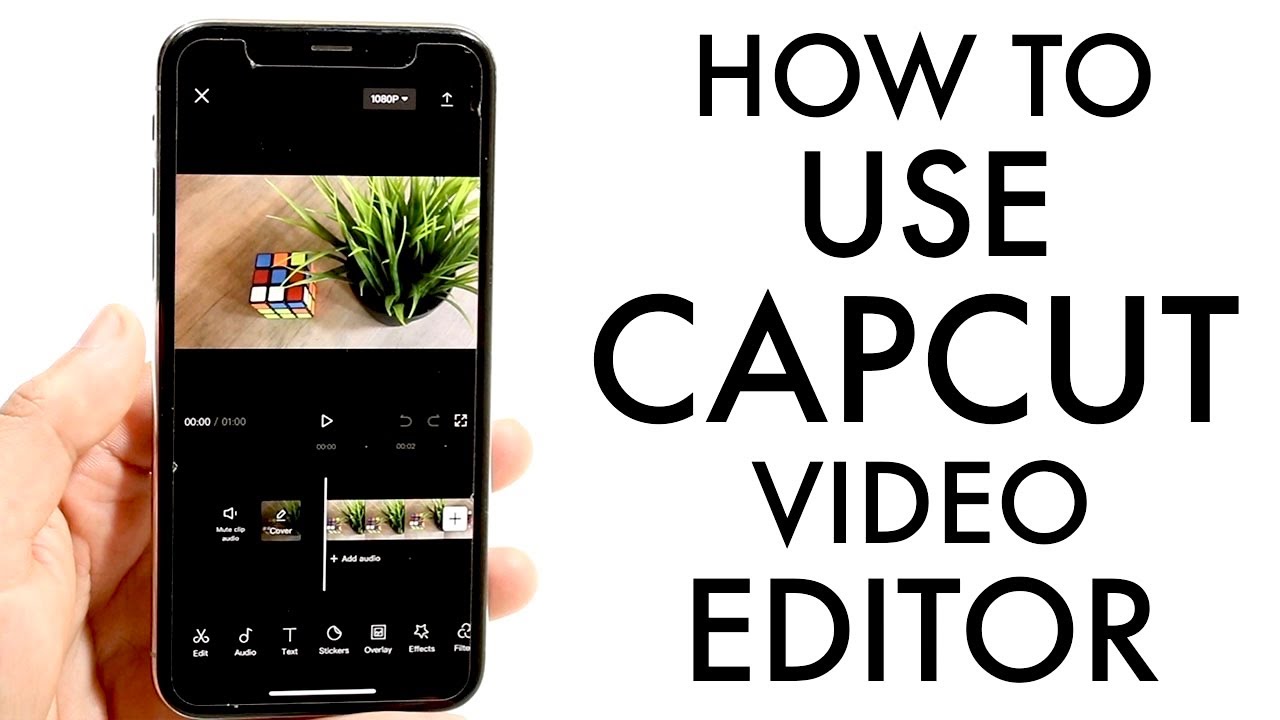
Using a chroma key in CapCut is easier than you might think. First, import your video and the background image or footage you want to use. Next, select the video clip, tap on the ‘Chroma Key’ option, and pick the green or blue screen color. Adjust the intensity and shadow to make the transition smooth and seamless. With these simple steps, you can create professional-looking videos using chroma key in CapCut.
Table of Contents
- 1 How to Use Chroma Key in CapCut
- 1.1 What is Chroma Key?
- 1.2 Getting Started with CapCut
- 1.3 Importing Your Footage
- 1.4 Adding the Chroma Key Layer
- 1.5 Applying the Chroma Key Effect
- 1.6 Fine-Tuning the Effect
- 1.7 Replacing the Background
- 1.8 Adding Effects and Transitions
- 1.9 Previewing and Exporting
- 1.10 Final Tips for Using Chroma Key in CapCut
- 1.11 How to Do a Green Screen in CapCut | Chroma Key
- 2 Frequently Asked Questions
- 3 Final Thoughts
How to Use Chroma Key in CapCut
Using the chroma key feature in CapCut can help you create stunning and professional-looking videos by removing backgrounds and adding exciting new scenes. But how does CapCut work overall, and how does its chroma key tool fit into its features? Whether you’re editing a YouTube video, a TikTok clip, or a school project, CapCut’s chroma key tool can elevate your content. Let’s dive into the step-by-step process of how to use the chroma key in CapCut.
What is Chroma Key?
Before jumping into the process, you need to understand what chroma key is. Chroma keying, commonly known as green screen technology, allows you to replace a single color background in your video with another image or video. This technique is widely used in filmmaking and video production.
Getting Started with CapCut
To use the chroma key feature, you first need to have CapCut installed on your mobile device. CapCut is available for both iOS and Android platforms, and it’s free to download.
- Open the App Store or Google Play Store.
- Search for “CapCut” and install it.
- Once installed, open the app and create a new project.
Importing Your Footage
The first step in using the chroma key is to import the necessary footage.
- Tap on “New Project” to start a new editing session.
- Upload the main video that you want to edit by selecting it from your gallery.
- Import the background image or video that you want to use in place of the chroma key background.
Adding the Chroma Key Layer
Once your footage is imported, you need to add the chroma key layer.
- Tap on “Overlay” at the bottom menu.
- Select “Add Overlay” and choose the video clip that you want to apply the chroma key effect to.
- This layer will now appear on top of your main video timeline.
Applying the Chroma Key Effect
Now, let’s apply the chroma key effect to remove the background.
- Select the overlay video layer where you want to apply the chroma key.
- Tap on the “Chroma” button located in the bottom toolbar.
- You will see a color picker. Choose the background color you want to remove. Most commonly, this is green or blue.
- Adjust the “Intensity” slider to fine-tune how much of the background color is removed.
- If needed, use the “Shadow” adjustment to make the effect cleaner and more precise.
Fine-Tuning the Effect
To make your video look more professional, you might need to fine-tune the chroma key effect.
- Edge Feathering: This option can help soften the edges of your subject to blend better with the new background.
- Spill Suppression: If you see any green or blue edges around your subject, use the spill suppression tool to clean this up.
Replacing the Background
After you’ve removed the original background, it’s time to add your new one.
- Place the new background layer underneath the overlay layer in the timeline.
- Adjust the position and size of the new background to fit the frame correctly.
Adding Effects and Transitions
Enhancing your video can make it more engaging.
- Add transitions between scenes for a smoother flow.
- Include filters and effects to add a unique look to your video.
- Use the text tool to add captions or titles if needed.
Previewing and Exporting
Before you finalize your video, make sure to preview it.
- Tap on the play button to preview your project.
- Check for any errors like unremoved parts of the background or choppy transitions.
- Once satisfied, tap on the export button at the top right corner.
- Select the desired resolution and frame rate for export.
- Hit the export button to save your video to your device.
Final Tips for Using Chroma Key in CapCut
To get the best results with your chroma key edits, keep these tips in mind:
- Lighting: Ensure your green or blue screen is well-lit. Uneven lighting can cause shadows and make the chroma key effect harder to apply correctly.
- Clothing: Avoid wearing colors that match the background. If using a green screen, don’t wear green clothes.
- Background Quality: Make sure the green or blue screen is smooth and has no wrinkles.
- Multiple Takes: If you have the time, shoot multiple takes so that you have options in post-production.
By following these detailed steps, you can effectively use the chroma key feature in CapCut to create professional-quality videos. Happy editing!
How to Do a Green Screen in CapCut | Chroma Key
Frequently Asked Questions
How do I add a green screen effect in CapCut?
To add a green screen effect in CapCut, first, import both your background video and the green screen footage. Place the background video on the primary track and the green screen footage on the overlay track. Select the green screen clip, and then go to the ‘Chroma Key’ option. Use the color picker to select the green color in your footage. Adjust the intensity and shadow sliders to make the green screen transparent, revealing the background video behind it.
Which formats are compatible with Chroma Key in CapCut?
CapCut supports various video formats for Chroma Key, including MP4, MOV, and AVI. For the best results, use high-definition footage to ensure clear and sharp keying. Make sure your green screen footage is well-lit and has a solid color background for optimal effect.
How can I refine the Chroma Key settings in CapCut?
After applying the Chroma Key effect, you can refine the settings by adjusting the ‘Intensity’ and ‘Shadow’ sliders. Increase the intensity to remove more of the background color, and adjust the shadow to reduce any leftover green edges around your subject. It may take some tweaking to get the perfect key, so experiment with these settings until you achieve the desired result.
Can I use Chroma Key with other background colors in CapCut?
Yes, you can use Chroma Key with other background colors besides green. CapCut allows you to select any color to key out. For the best results, choose a background color that contrasts sharply with your subject to minimize color spill and ensure a clean keying process.
Final Thoughts
Using chroma key in CapCut allows you to create visually appealing videos with ease. Simply import your video, tap on the overlay option, and select ‘Chroma Key’. Adjust the color range to match your green screen, and fine-tune the intensity to ensure a clean removal. Experiment with filters and effects to enhance your final video. This straightforward process makes CapCut a go-to tool for anyone looking to use chroma key in their video projects.


